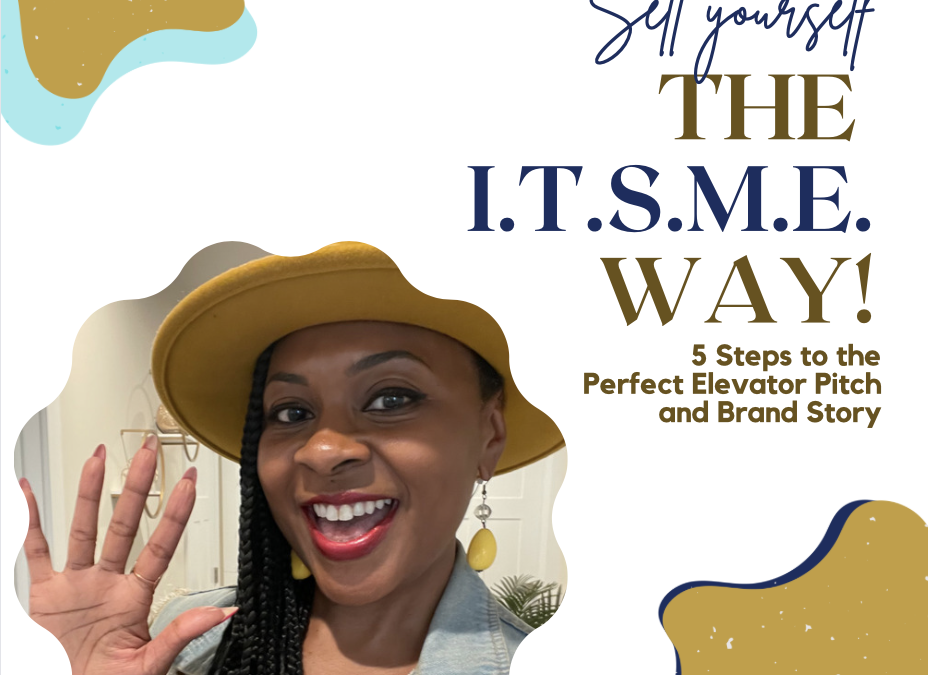
5 Steps to the Perfect Elevator Pitch or Brand Story
Every job seeker and entrepreneur has learned just how important it is to make a great first impression, and sell yourself or your business to a new company, customer or new investor. When you have just minutes to get their attention and share essential information about yourself and your professional brand–the information that’s going to get your foot in the door, get your product into the right hands, or otherwise get money in your pocket–what do you say? What’s essential, and what’s not? I’m going to show you how you really self yourself in just 5 steps. When it’s time to create or fine-tune your elevator pitch or brand story use this 5-step approach I call my ITSMETM Approach.
The simple technique to selling yourself is to remember: I.T.S.M.E. “It’s Me!”
The essential sales pitch–the Elevator Pitch–earned its name from the idea that it should be delivered in the short time it takes to share an elevator with someone who’s interested in your skill set or business–typically 30- to 60 seconds. The term has survived in the business and finance spaces for decades as the fabled elevator ride a hungry applicant or business owner lucks upon with the hiring manager, executive or venture capitalist on the way up to their corporate office. In essence, you never know who you’re on the elevator with so you better represent yourself well! Back then, your pitch might have been about skills, features and quantifiable information. Today, that elevator pitch is more about forming the connection that fosters a relationship built on trust and relatability. It’s about sharing, “This is who I am, and this is what I’ve built my professionalism on.” I’ve coined this sales pitch the “ITSME pitch”. It’s. Me. I’m not just selling my service or skill set here, I’m selling myself and the experiences that formed the professional I am today.
And if the elevator pitch establishes the connection, then it’s the brand story that nurtures the budding relationship. Just as with any other relationship, vulnerability and transparency are essential and you might start by revealing precisely the information you’d rather avoid. To form a relationship we have to be relatable. For this story, you’ll need at least 2-3 minutes–as building relationships take a little more time, constructed on a little more turmoil. This additional time allows you to take your audience on an emotional journey that reveals the strength and reliability of your triumph, having been built in and overpassing your trials.
Want to see how easy it is to sell yourself in just 5 steps?
The “I” in ITSME is the simple Introduction. As fundamental as this is, many people forget to simply introduce themselves! Make it a habit to share your name and/or your business name immediately. “Forgive the interruption, Ms. Executive! I’m Marceia Cork–I attended your webinar last week and you shared your frustration…” Much like what you were taught in grade school, your statements should cover the basic who, what, when, where and why you’re meeting or how you were previously connected.
Do you have a Testimony? Trauma? Triumph? Your “T” might be any of these. Whatever it is, this is where you share your truth. Something from your past has helped shape your professional goals. Sharing that story is precisely what’s going to make you relatable. In social media marketing customers do business with people they like, know and trust. Sharing your truth gives people a glimpse into your life. Combined, that access and authenticity creates a bond as you also show them you trust them with your truth.
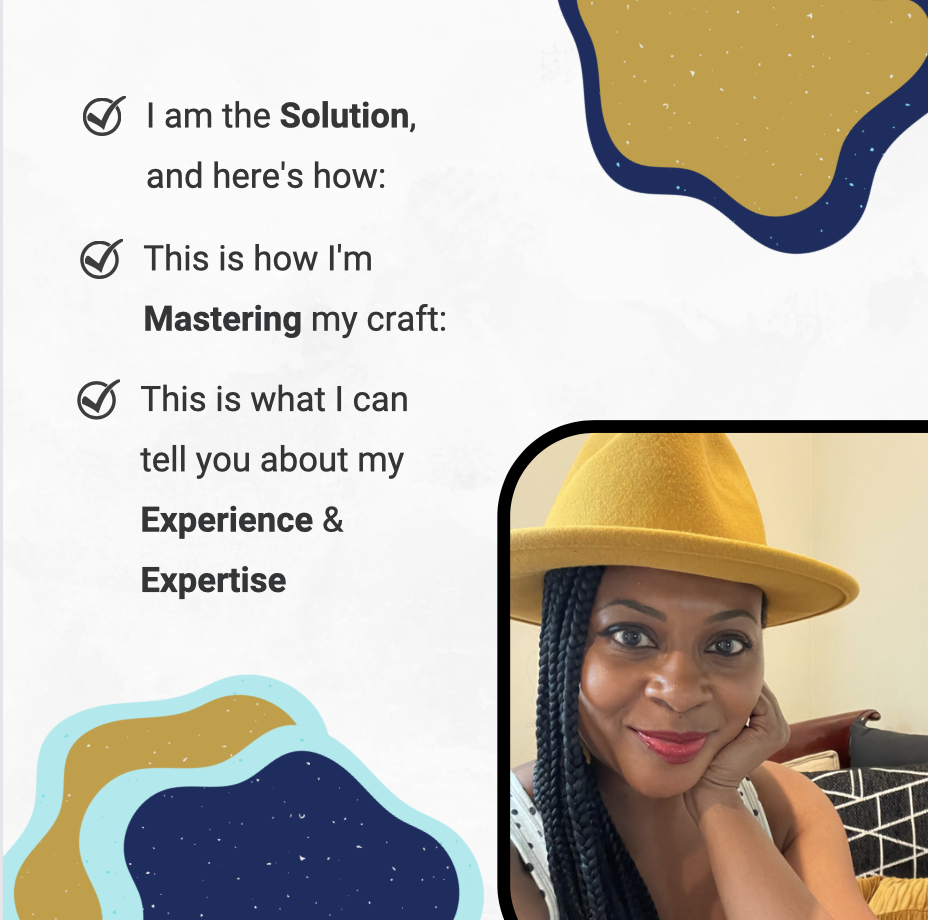
You’re the Solution. Now it’s time to offer up yourself and your services as the solution. Position this solution as both the solution to overcoming your own testimony and triumph, alongside how you can help them and those they may also serve.
Mastery and Expertise. Which brings us to the M and E of the ITSME approach. Close your pitch and brand story by proving you deserve their investment of time and money. You do this by briefly explaining what you’ve done to master your craft, and to perfect your product or services. Explain to them just what makes you a credible source or trusted provider for what you offer and how you’ve gained that experience and expertise.
This isn’t about rattling off the degrees you’ve earned–because not everyone has gone to college or earned degrees in the industries in which they’ve started their businesses and careers. What’s more important to note here are the keys to your current success–how you’re improving and mastering your skills, and how you, your services and skills stand out above any others. Of course it’s okay to mention your degrees if it’s relevant, or if it helps establish the connection with the listener–say, if they went to the same school. Otherwise, skip it and focus on your unique, soft skills and tactics that made you stand out among the others.
I can say all of that in 1-3 minutes? Yes. As a media trainer, interview and public speaking coach I teach clients how to structure a basic speech or prepared statement based on the time allotted for the speaking opportunity. As you perfect this technique start by simply breaking it down into (somewhat) equal parts.
The ITSME approach has 5 parts–for an elevator pitch that’s about 85 words, with 10-12 seconds per topical area. Spend about 12 seconds telling people your name and referencing the how’s and when’s of your initial meeting or connection, then spend about 10-12 seconds on every other area: 12 seconds sharing the testimony or trauma or that helped shaped your business decision, followed by about 12 seconds for each of the remaining areas. In a nutshell that’s about three short supporting statements per area.
For your brand story that’s more like an average of 200 words, and 45 seconds per topical area, which could look like 30-45 seconds of your name and background on the initial meeting or connection, then 45 seconds to a minute on the other areas: the testimony or trauma or that helped shaped who you are as a professional, followed by about 45-60 seconds of longer-form, solution-driven statements that note mastery of your craft, and highlight your expertise.
This structure means being methodical; having a formula you can repeat without ever overlooking an essential. Even Apple has their own five-step approach to the great service they provide, and boasts being service- and people-focused over highlighting technical product features. And now you do too. That’s how to sell yourself in just 5 steps. That’s the “It’s Me!” way.
Like what you’re reading here? Please take a minute to share on social!
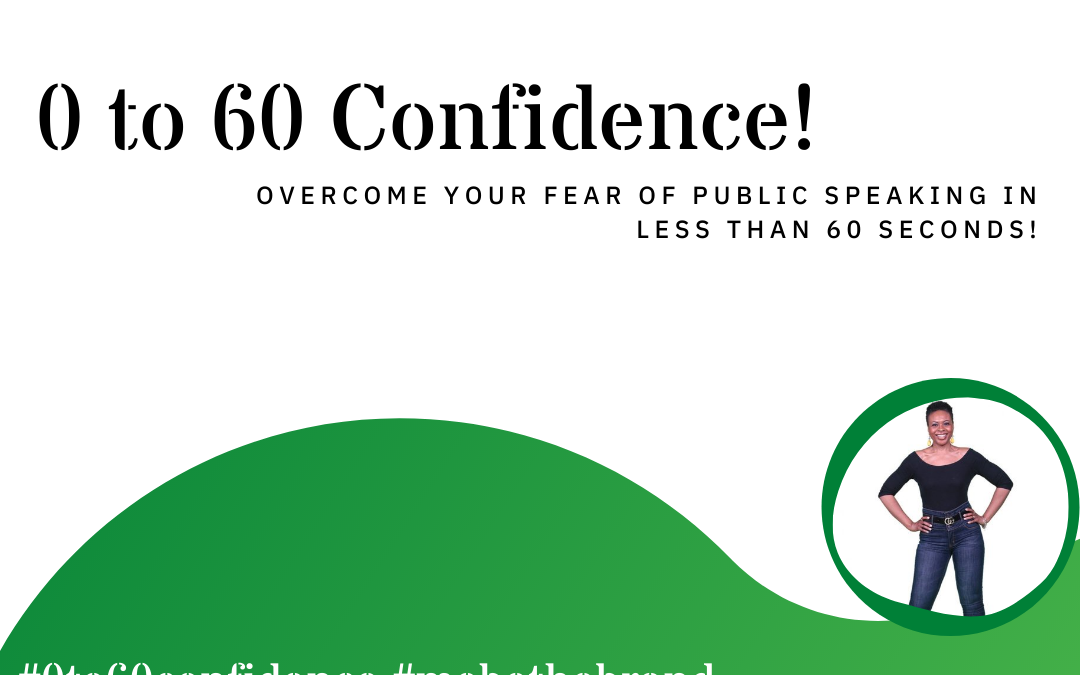
Three techniques to improve your confidence in just 60 seconds.
I’m going to let you in on a little secret… For some people, speaking and selling yourself with confidence isn’t innate, it’s a PRACTICE! That’s right, you have to practice confidence. You have to learn what confidence looks like, how it sounds, and how it feels.
I have three exercises that have become crowd favorites in my coaching sessions and workshops. These three exercises will accelerate your confidence in your speaking skills! In other words–we’re going from 0 to 60 confidence, real quick! (*Queue some Drake theme music!)
The ABC Exercise — #ABCchallenge
I use the alphabet with clients and in my workshops because the alphabet levels the playing field; everybody knows it. It’s something you can recite without having to think–and that’s precisely what I want. What people commonly fear when speaking publicly is that they’ll forget what they want to say, or won’t have anything to say. Doing the ABC exercise shows people just how words can flow when you’re prepared and when you’re so comfortable with the content that you don’t have to search for words.
The ABCchallenge is really simple. You’re going to:
SPEAK the alphabet. Make it sound conversational, not recite it as a song;
Introduce yourself;
Tell people you’ll be reciting the alphabet. Recite it;
Then provide us with a closing.
This is a fun exercise for all ages, and a good one to introduce to the young people in your life. It’s never too early to get them comfortable with public speaking. Do it daily and you’ll see yourself transform in no time! Click on the image above to watch my YouTube demonstration of the ABC Challenge.
Challenge a friend and share your ABC Challenge with me on social @itsmarceiacork. Use #abcchallenge!
Box Talk
The goal and outcome of Box Talk is to teach you how to speak on nearly any subject for one full minute. One minute is usually how much time you might spend answering a question. When you’re being interviewed or doing Q+A you have to learn how to think on your feet and answer questions quickly. Box Talk will teach you to find a way to answer any question with just three points. The key is to prepare an answer that’s personal, honest, and gets as close to answering the question as you can. For example, if you’ve been asked to talk about Plastic Surgery, but you have no first hand experience with plastic surgery you might say, “I’m going to talk to you about three celebrities who’s cosmetic procedures always have us talking: Cardi B, Nikki Minaj, and Kim Kardashian. To your audience, it feels like you’ve still stayed on subject and answered the question. Let’s take a quick look at my short BoxTalk demo, or watch the full YouTube video below!
Practice daily or multiple times a day! Why not–it only takes a minute!
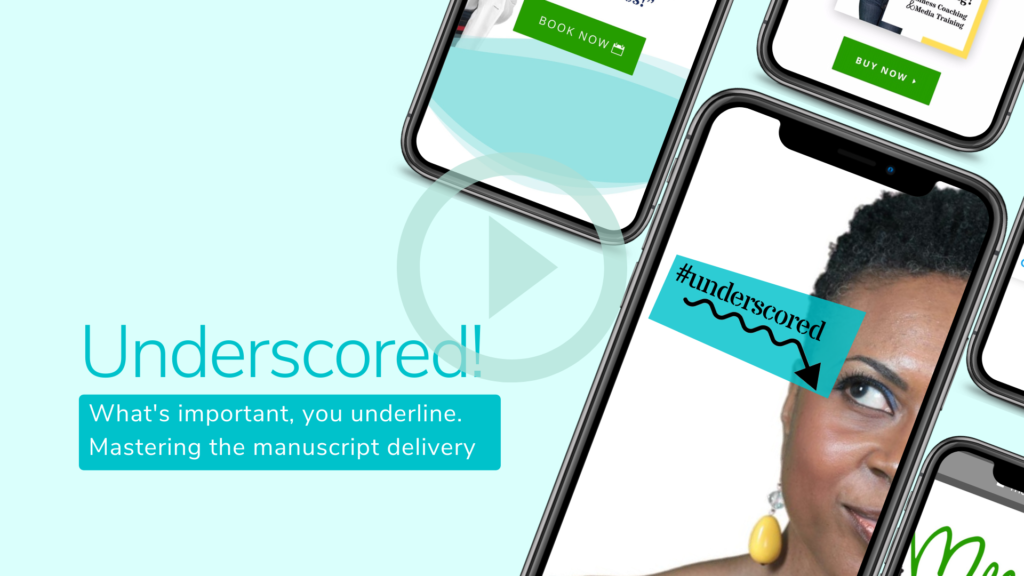
Underscored!
Underscored is an exercise I use to show people how to perfect the manuscript style of speaking. With the manuscript technique, you are actually reading from a prepared script. This is how most keynote speeches are delivered, along with things like eulogies, press conferences and other opportunities. And if you’re planning to do voiceover work you’ll definitely read from a lot of scripts. The goal of this exercise is to learn to make your scripted reading sound more conversational and melodic, and less robotic. We tend to sound like robots when we read. But what you want is vocal variety. That means, you want to deliver a scripted speech in a way that sounds like you would if you were talking off the cuff and having an everyday conversation. We change our pitch, we change our volume, we change our pace. We often have a natural rhythm or cadence when we talk.
I call this exercise Underscored! because to underscore typically means to underline for emphasis. With this exercise, underlining and highlighting key words within your script will help determine what you want to emphasize and what you don’t, and help you find your rhythm and flow. Read below for an at-a-glance view of what to do, then watch this video to see the Underscored technique in action:
First, imagine yourself telling a recent story. Make note of how you sound when you’re excited, sharing private info, or while laughing, etc.
Read through your script. What’s the mood? I want you to underline, highlight and make notes of what you need to emphasize, and of what you’ll understate or run together with less emphasis.
Try to mimic your natural speaking voice.
Resist the urge to overemphasize adjectives, pronouns and verbs. Do this only if the content really calls for it.
Read through repeatedly, and settle into a natural cadence. When you notice a pattern while practicing you’ll know this is your signature flow! Chances are, this is how you sound when you tell stories or share information with friends! Just like we recognize the flow and delivery style of our favorite rappers, actors and voiceover talents, your audiences may have already started to pick up on your signature sound. So use this technique to really nurture what’s becoming your signature sound, and increase your voice recognition.
I hope you enjoy these exercises! Be sure to record yourself and share the videos with me on social using the hashtags #ABCchallenge #BoxTalk #0to60Confidence and #mebethebrand. I can’t wait to see you rebuilding, rebranding, and representing yourself with confidence!
Like what you’re reading here? Please take a minute to share via social media!
The idea of speaking in front of an audience is already intimidating enough. Public speaking is one of the top phobias; many people fear it more than death! Instead of focusing on the speaking itself, try improving your public speaking opportunities with these 10 tips that don’t require any speaking whatsoever!
10. Learn your audience. Your speech is nothing without an audience! Research your audience to learn the best venues and platforms for your speaking engagements. Seek demographic data whenever you can. Knowing your audience will help you develop the right messaging. Which posts and what content generated the most reactions from your followers? If you’re conducting interviews on podcasts or going live on social media, research the best days and times to interact with them. When are your followers most active on social media? Get a firm understanding of your audience and the topics they want to hear, and plan accordingly.
9. Look the part. Represent your brand and dress like a member of your audience and client base. You should reflect both your product/service and your client base. Your image should be consistent with those you serve. Likewise, your attire should align with the price points of your featured product/service and topic. Otherwise, you won’t be trusted. You’ll look like someone who doesn’t even march to the beat of the drum you’re selling.
8. Dress comfortably. Now make sure you’re comfortable! Your goal with every speaking opportunity is to be present and engage with your community. If you’re uncomfortable you may fidget or be distracted, and it will show. Be mindful of the environment–will you be too cold? Sweat too much or overheat? Will the hat you’re wearing keep falling off? Will your jewelry bang against the microphone? Think ahead and dress for comfort so you aren’t distracted–and so you don’t become a distraction to your audience.
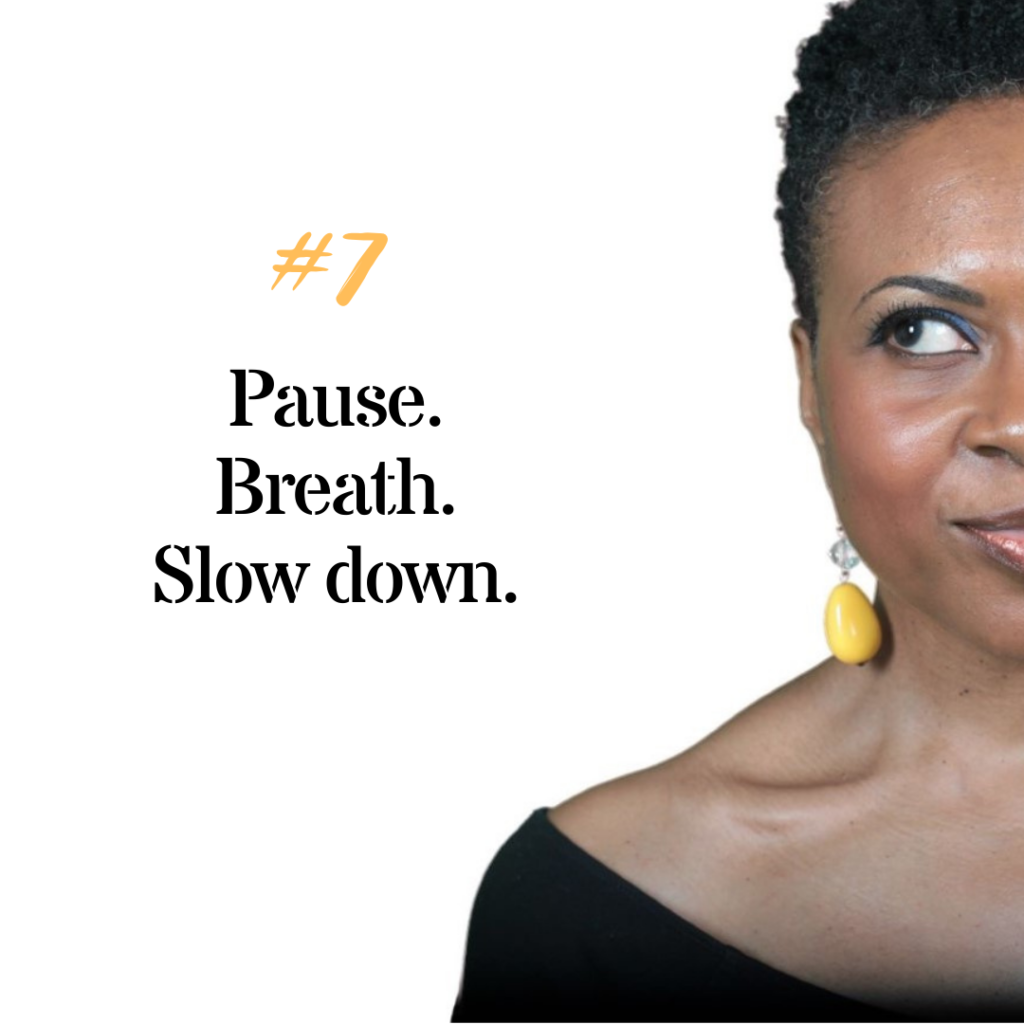
7. Remember to “PBS”. Pause. Breath. Slow down. The first thing we do when we’re nervous is start to speak too quickly, and we run out of breath! It’s not a good feeling to be winded when speaking, so correct this early. Practice first–in front of a mirror, or record yourself. Pay attention to the pace and rhythm of your speaking voice. If you find that you rush when nervous, slow yourself down by taking longer pauses between words, and taking deep breaths in through your nose and out your mouth. It’s very similar to trying to catch your breath while running or jogging. Here’s a tip: inhale and say “P-B-S” to yourself. It will remind you to pause, breath, slow down and pace your breath.
6. Invite a friend! The more the merrier, right? Yes, everything’s better with a friend! The banter between two hosts or speakers is very effective in engaging the senses and holding an audience’s attention. But be strategic about who you invite to join you. Guests and co-hosts should align with either your brand or your community; they should have a product, service or story that resonates with your audience. If they don’t, the discussion may not be of value to your audience, AND it may deter them from ever joining you again.
5. Structure your speech. Develop an agenda/program. Speaking opportunities are a great time to be authentic and put yourself out there–but be your BEST self. This is for your audience, so make every minute of their time and participation count. Don’t wing the conversation. Give them a preview of what you’ll cover in and what they will get out of your speech–it makes it easier for them to follow along and not lose focus. Then, make sure you discuss every point you promised! Leave them feeling fulfilled (not like they wasted their time) and wanting to hear you speak again!
4. Use notecards Again, don’t wing it! If you’ve taken time to carefully organize your speech and curate the discussion, you certainly don’t want to miss any of the key points! Work from a bulleted list of main points and/or agenda items. This helps you stay on topic and make the most of the time allotted. It’s also a great way to make note of follow-up questions and comments. Also, using notecards rather than flimsy paper make you look more polished and aren’t as noisy when handled!
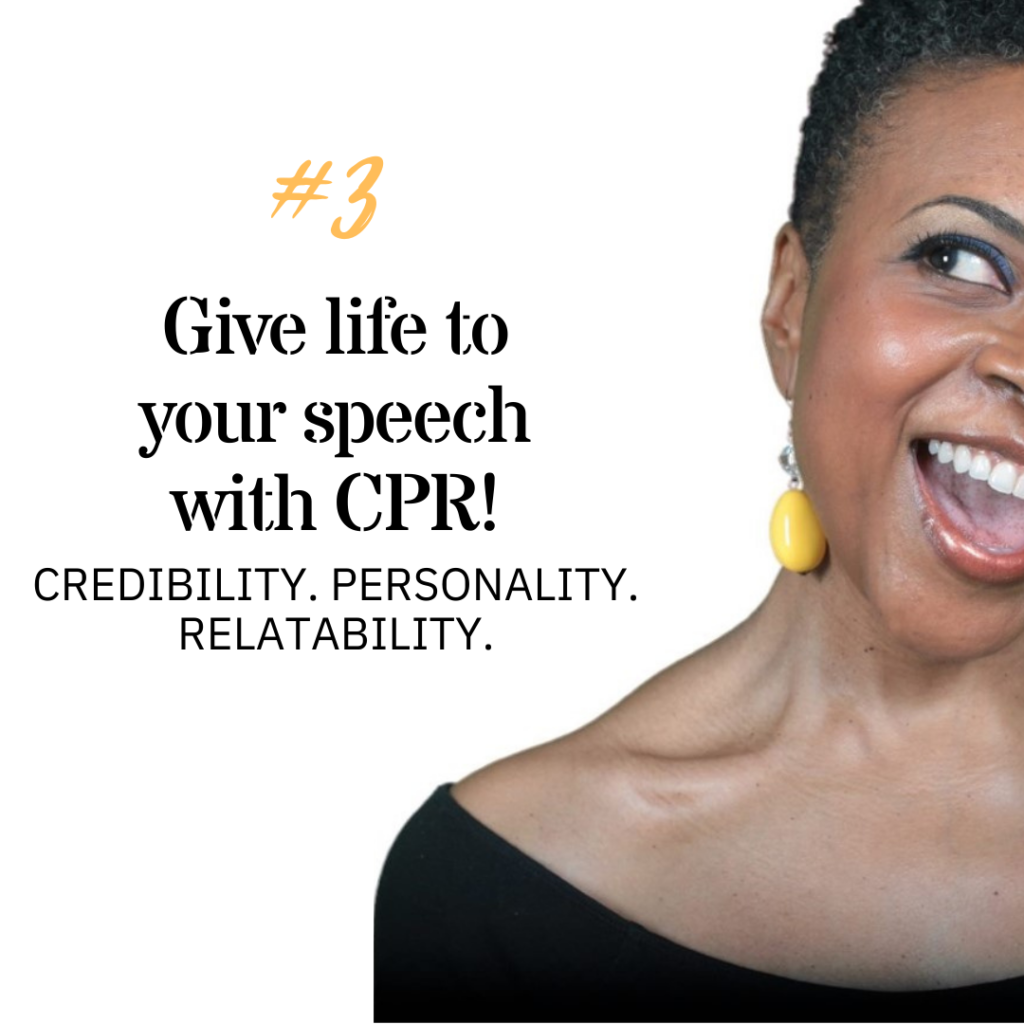
3. Give your speech “CPR” – Credibility. Personality. Relatability. Someone told me recently, “I’m not buying the product if the owner is a mystery or doesn’t seem confident!” The first step in selling your product or service is to effectively sell yourself. People do business with those they trust, like and know. If you want to see the way I break down my CPR acronym and position it against what’s known in social media marketing as the “Know/Like/Trust” factor, you can check that out here.
Way too often these days I see people deliver in a way that mirrors a Ted Talk, as if that has become the standard for giving talks. But what makes people like you, and feel like they know you, is when you sprinkle a little of what they’ve come to learn about your personality! So as you develop your talking points, be sure to season it with what people know about your personality, and what makes you credible and relatable.
2. Memorize, and visualize yourself getting through your speech successfully. Once your agenda items are determined, memorize things like your introduction, and any jokes, facts/statistics, or other things that add flavor to the conversation. Memorizing and knowing them versus reading them also add to your credibility. They make the content feel more like second-nature to you and take away the anxiety out of forgetting something important!
Call it a “dress rehearsal” in your head! Visualize running through and sequencing your speech until you know exactly where you can inject a quote, story, testimonial, song, etc. without losing your place. Visualize your success!
1. Practice looking confident in your “Proud Stance” The Proud Stance is a term and exercise I use as I coach clients on how to fall into a comfortable but professional position that they can hold for at least one minute. I have a quick and helpful demo of how to practice your Proud Stance here. A minute is about how long it takes to introduce yourself at the top of your speaking opportunity and establish credibility. It’s also about the amount of time it takes to respond to a poignant question. So practice falling into a comfortable position that looks professional, but matches your personality. Try to hold that position without rocking, pacing, fidgeting or adjusting your clothes. A person who can hold a position with confidence commands an audience’s attention!
And there you have it–10 ways to improve your public speaking, and fine tune your speaking opportunities before you even begin to deliver them!
Like what you’re reading here? Please take a minute to share this article!